To create and bind a self-signed SSL certificate with PowerShell and IIS, you can follow these steps:
- Open a PowerShell session with administrative privileges.
- Generate a self-signed SSL certificate using the New-SelfSignedCertificate cmdlet. Here’s an example command:
$cert = New-SelfSignedCertificate -DnsName "yourdomain.com" -CertStoreLocation "cert:\LocalMachine\My"
Make sure to replace “yourdomain.com” with your actual domain name. The certificate will be stored in the “My” certificate store.
- Export the self-signed certificate to a .pfx file, which can be easily imported into IIS. Run the following command:
$pwd = ConvertTo-SecureString -String "password" -Force -AsPlainText
Export-PfxCertificate -Cert $cert -FilePath "C:\path\to\certificate.pfx" -Password $pwd
Replace “password” with your desired password, and “C:\path\to\certificate.pfx” with the desired path and filename for the exported certificate.
- Import the certificate into the local machine’s certificate store. Open the Certificates MMC snap-in (certlm.msc), and import the .pfx file into the “Personal” certificate store.
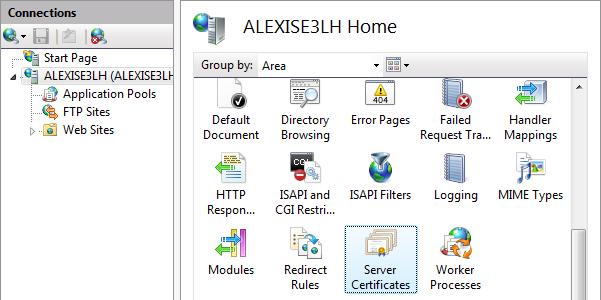
- Open the Internet Information Services (IIS) Manager.
- In the left-hand pane, select the desired website, and choose “Bindings” in the Actions pane on the right-hand side.
- Click “Add” to add a new binding.
- Select the appropriate settings for the new binding, such as type (HTTPS), IP address, port, and host name (matching the one specified during certificate generation).
- In the SSL certificate dropdown, choose “Select” and locate the self-signed certificate you imported in Step 4.
- Click “OK” to save the binding settings.
Your self-signed SSL certificate is now created and bound to the specified website in IIS. Please note that self-signed certificates are not trusted by default in web browsers and may trigger security warnings when accessed by users. It’s recommended to use trusted SSL certificates for production websites.


